 |
| Just about to fit the front onto the frame. |
 |
| A crusty rusty caliper before and not so much after. |
 |
| Add caption |
 |
| Firstly I removed the half shaft. |
 |
Once the half shaft was removed I started to disassemble the trailing arm assy.
|
 |
| Here I removed the drive spindle. |
 |
| Next was the e-brake shoes, |
 |
| I removed the spacers, |
 |
| Then I removed the bearing with a puller, |
 |
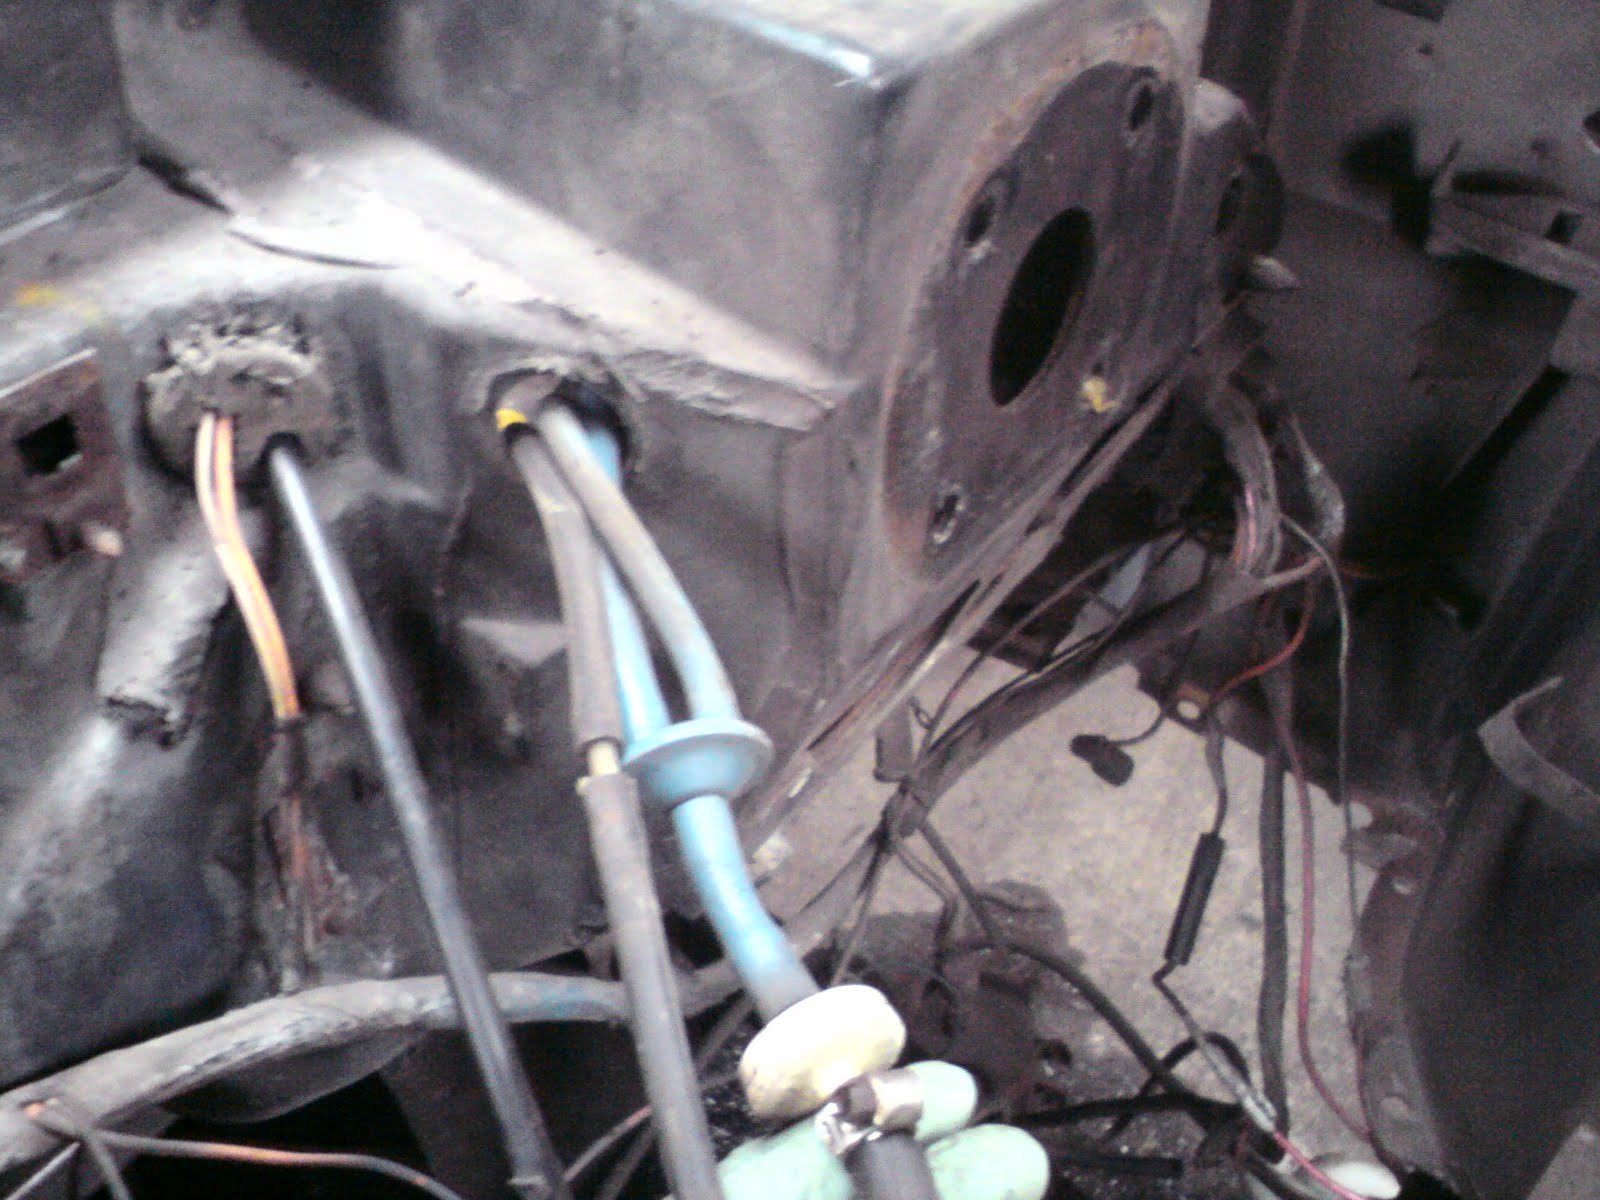
| When I was removing the u-joint it bent in the ears on the flange so I used threaded bar to spread it apart to where it was supposed to be, |
 |
| Once it was back to shape I drilled and tapped a steel plate,then bolted the flange to it before fitting the new u-joint. |
 |
| Now the new u-joint is fitted, |
 |
| After sand blasting and priming I sprayed the final coat on each of the parts, |
 |
| After sand blasting and painting I fitted the new seal and Timken taper bearings, |
 |
| Before fitting the bearing shells I thuroughly cleaned out the housing, |
 |
| Here the first shell is fitted, |
 |
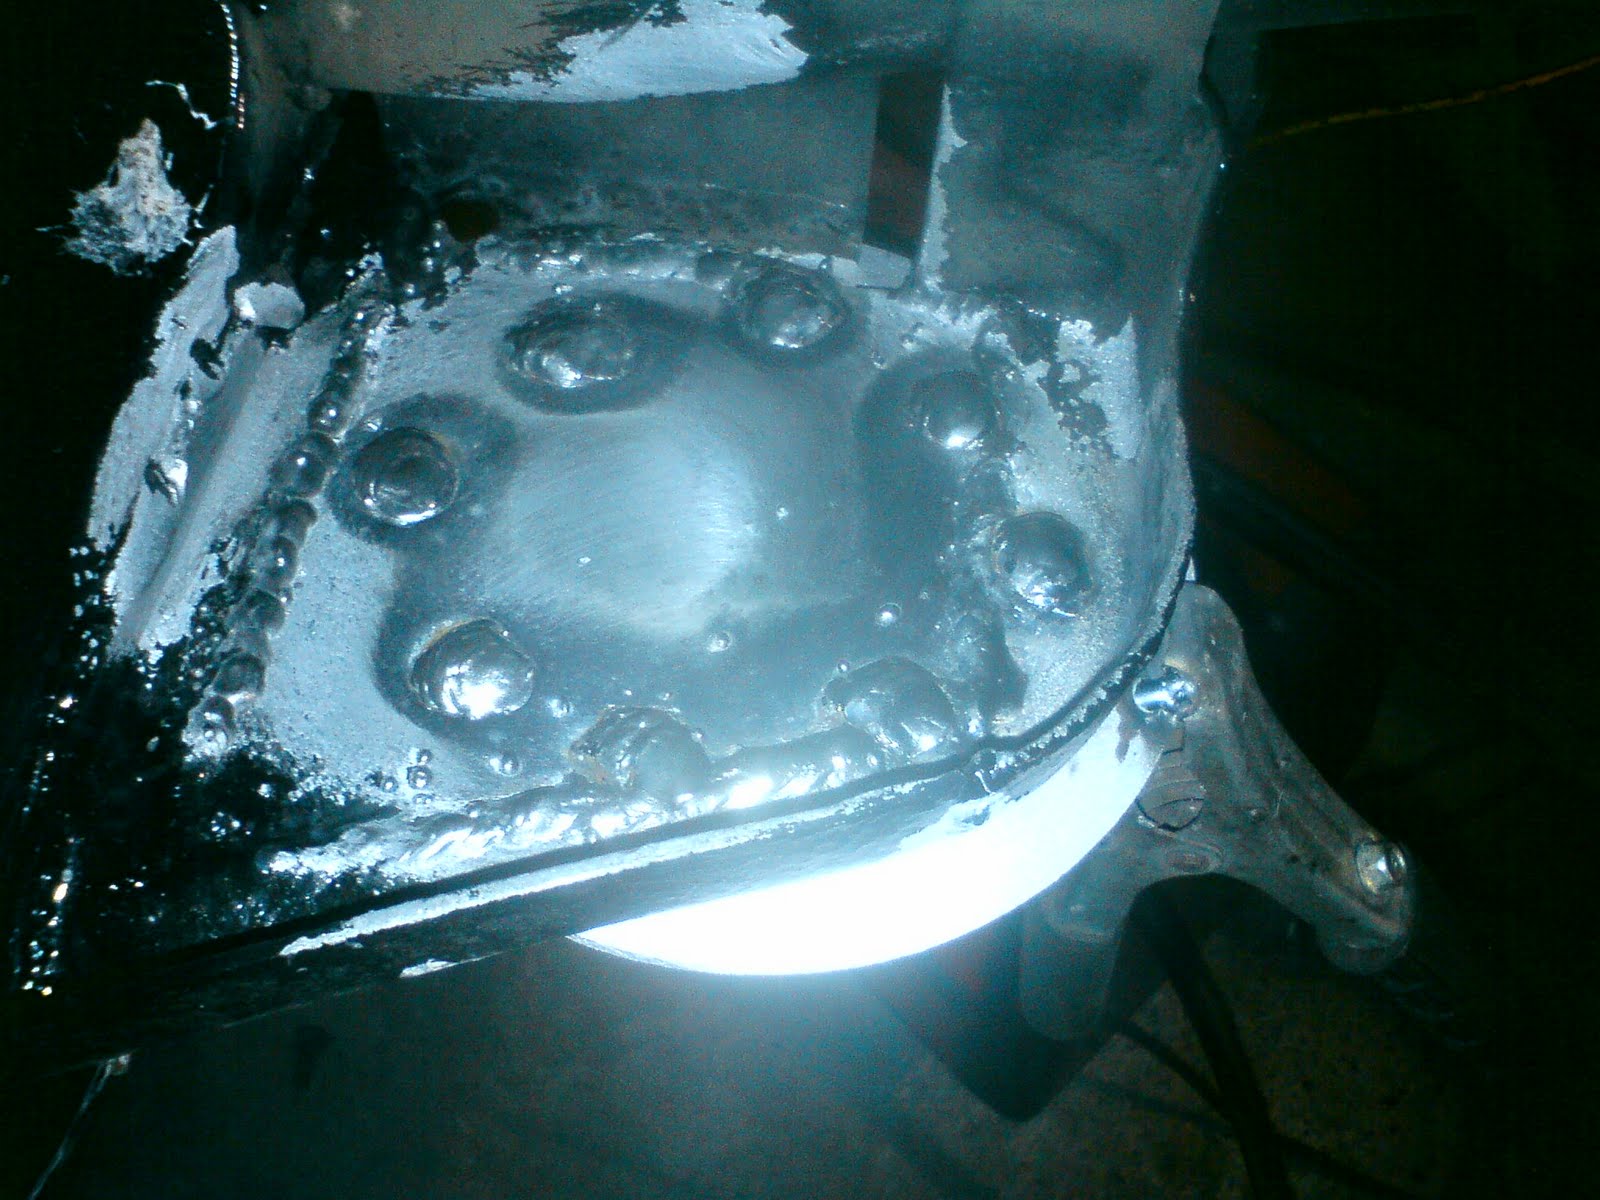
| Here I was pressing in the first shell, |
 |
| The origional trailing arms were far too gone to re-use so I ordered these in from a place in Texas @ a great price, |
 |
| Now re-assembly can begin, |
 |
| The grease I used is a lithium complex, |
 |
| After fitting some of the stainless steel E-brake kit I then fitted the shield, |
 |
| Here I packed the taper bearing with grease, |
 |
| To make assembly easier I put the brake shoes together before fitting them, |
 |
| Now the brake shoes are fitted, |
 |
| Once I had the bearing greased I re-fitted the spacers, |
 |
| Here I am re-inserting the spindle with the last taper bearing, |
 |
| Here the dust shield is fitted, |
 |
| Finally I torqued the spindle nut and fitted a cotter/split pin, |
 |
| Now I have two complete trailing arms, |
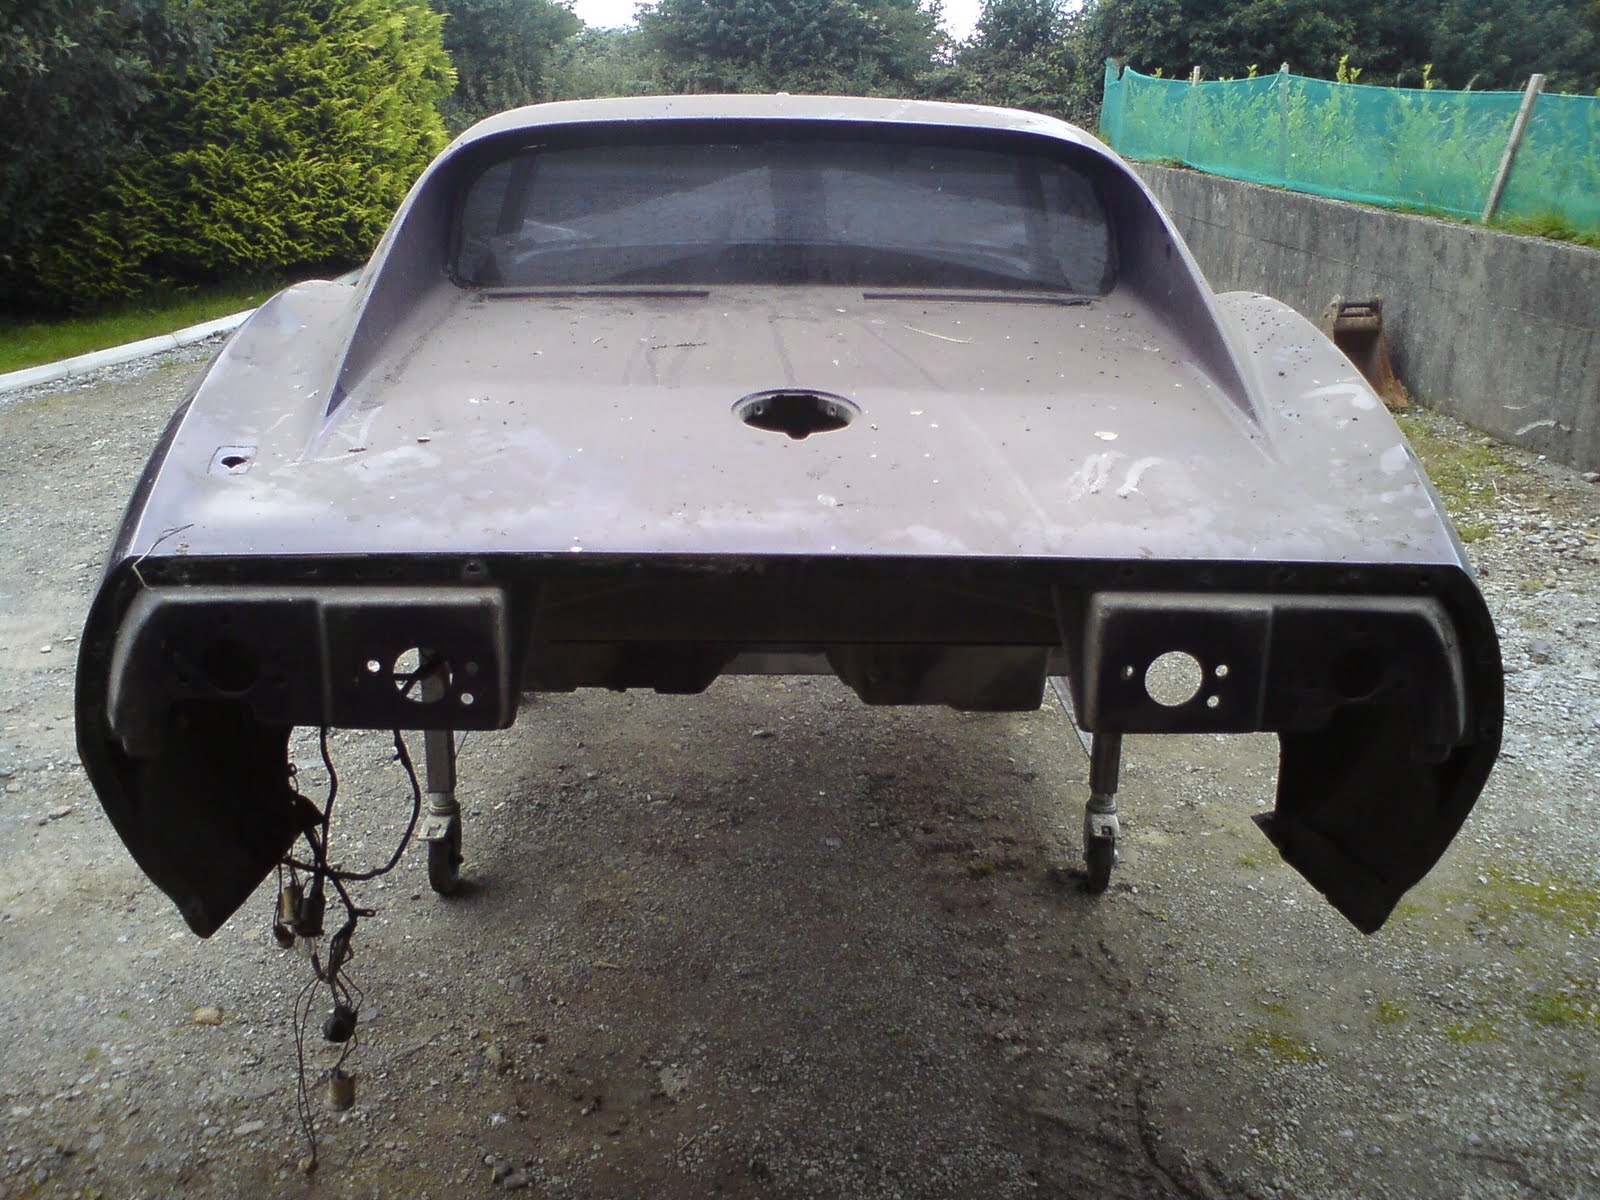
Follow along as I attempt a restoration on my Stingray.
I origionally bought this car to have for weekend driving and so on, I had in mind to tidy up the overall basic apperance starting with the interior then wheels etc; but once I started to remove certan parts I soon realised that this is going to need a little more than a tidy up,
Of course this being a blog page the most recent work I have done will be displayed first.
(a bit like reading a book from back to front really)
To the right there ia a Restoration Archive so you can select older posts from start to finish.
Follow along as I attempt a restoration on my Stingray.


